Troubleshooting Guide For Mercedes Sprinter Van Blower Not Working
The Mercedes Sprinter Van blower of the heating and air conditioning system regulates the speed at which warm or cold air is forced into the vehicle's cabin. You should keep the blower in the Mercedes Sprinter van running as it should to avoid a heated car and irritated passengers.
Not to add that if your windscreen fogs up, you'll need to use the blower to clear it. Poor air pressure or the airflow from the vehicle's vents is caused by a failed Blower Motor. The blower motor is usually found underneath the glove box on the passenger side. This makes it simple for a skilled mechanic to replace it.
Table Of Content
- Cause of Mercedes Sprinter Van Blower Failure
- Troubleshooting Procedure
- Conclusion
Cause Of Mercedes Sprinter Van Blower Failure
The Mercedes Sprinter van blower engine is located beside the blower engine, underneath the passenger side dashboard. The following are some of the most common issues:

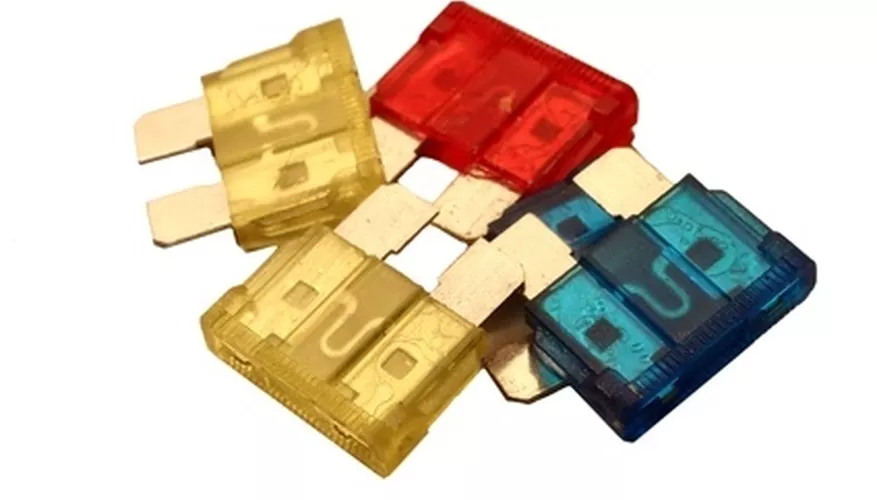
- A fuse that has blown
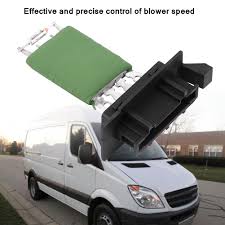
- A damaged resistor
- A faulty ground connection on the motor
- A malfunctioning engine speed control module
Troubleshooting Procedure
Isolate the motor and do some basic electrical testing to establish the reason for a blower fan failure. Bring a thorough understanding of electricity as well as experience with electrical testing equipment.
It's also a good idea to have a wiring schematic for the individual vehicle. When working with electricity, follow all safety precautions.
STEP 1: First, Check The Fuses
Component failure is frequently caused by fuse failure. If the fuse has blown, replace it; if not, move on to the next step 2.
STEP 2: Examine The Motor For Power
Unplug the blower motor with a test light or a multimeter set to volts. With the black lead connected to a good ground, such as a bolt-on engine block, and the blower switch switched on, probe the plug that usually connects to the blower motor with the red lead.
The test light will illuminate if the meter reads between 9 and 11 volts. Proceed to Step 3 if the voltage is correct or the test light is illuminated. Skip to Step 4 if the test is not correct and the test light does not illuminate.
STEP 3: Check The Blower Motor's Connection
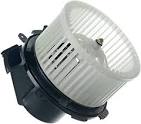
Two jumper leads, one black, and one red are required. The black lead should be connected to the ground before being connected to the blower motor assembly. Connect the red lead to a power source, then to the leads on the detached connector's motor side.
The connector is bad if the motor turns. Replace the connector if necessary. If the motor still won't turn, it's time to replace it. Replace the motor with a new one.
The Blower Motor Is Not Working: Replacement
A blower motor that does not work is one of the first signs of a problem with the blower motor relay. Because the relay is the switch that sends current to the blower motor, if it fails internally, power to the circuit will be turned off, causing the motor to stop working and the vents to stop blowing air.
The blower is made up of three parts. The blower motor, blower resistor, and control panel are all present. Because the resistor is bypassed in a high-speed blower, you would prefer to rule it out.
A faulty blower motor is the most typical problem. On the passenger side, under the hood.
Turn the key on, set the control to high, and begin tapping the blower motor in several places quite hard and firmly. Often, a nasty one may stick, and pressing the blower will release it up.
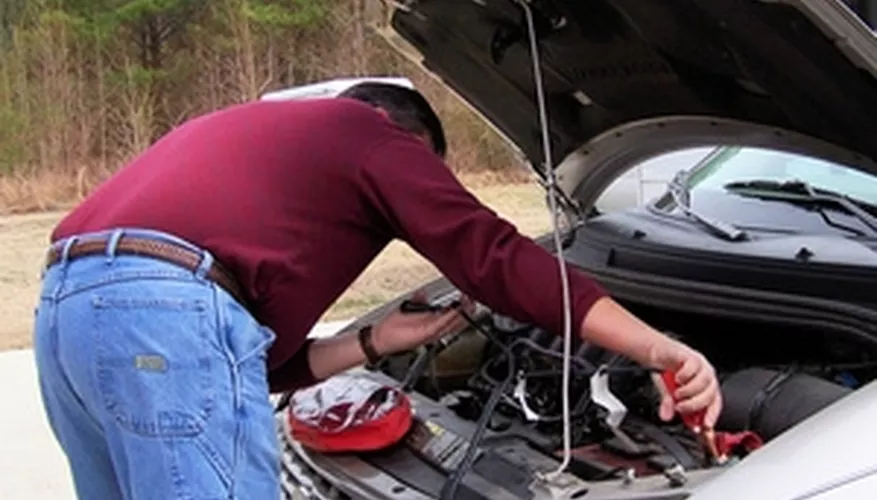
With the key on and the blower on high, check the red/blue wire at the blower for power with a meter or test light. If there is no power, look for a defective control panel; if there is, look for a bad blower motor. It might be possible to free it up by tapping on it.
Removal Of The Blower Motor
- The negative battery cable should be disconnected and isolated.
- Remove the air cleaner housing cover from the engine.
- Remove the ventilation housing insulation blanket from the blower motor assembly's path.
Assembly For Blower Motor
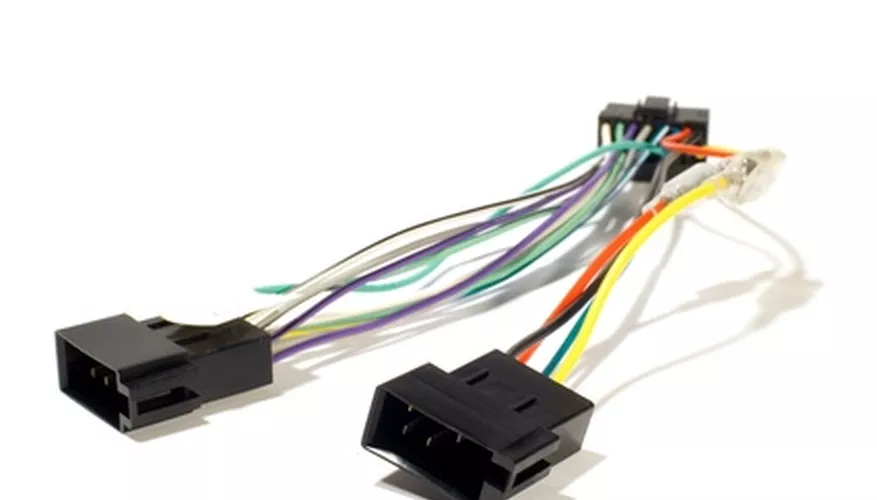
- Disconnect the blower motor's wire harness connector.
- Remove the three holding screws on the blower motor.
- Remove the ventilation housing's blower motor assembly.
Installation Of The Blower Motor
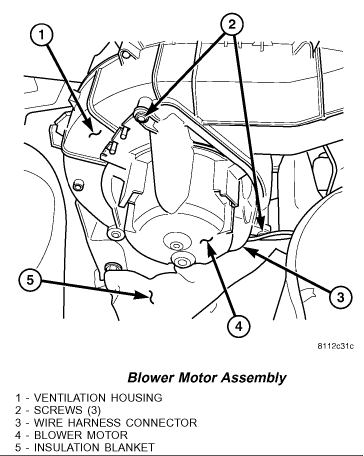
- In the ventilation housing, place the blower motor assembly.
- Install the three retaining screws for the blower motor. Tighten the screws to a torque of 2 N.m (17 in. lbs.).
- Connect the blower motor to the wire harness connector.
- Install the insulation blanket for the ventilation housing.
- Install the air filter cover on the engine.
- Remove the negative battery cable and reconnect it.
STEP 4: Perform A Test On The Switch
Connect the connector to the blower motor once more, and then follow the wire harness back to the connector nearest to the blower motor switch, which is normally under the dash. Set the multimeter to ohms after disconnecting the connector.
Place one lead on one of the connector's prongs and the other lead on the connector's power in a prong, making sure they don't contact. When you turn the switch on, the reading should be between.01 and.03 ohms.
Because switch resistance varies, a somewhat higher reading is okay. The switch is defective if you get no reading on any of the switch settings. It should be replaced.
STEP 5: Check To Determine If The Battery Is Providing Power To The Switch
Switch the multimeter to volts or use a test light while leaving the switch unconnected. Using the red lead to probe the connector, ground the black lead as before. The hot, or power, wire is usually a green or red wire.
If the wire color is unclear, see the wiring diagram for the individual car. Skip to Step 7 if the meter displays the right voltage or the test light glows, indicating that the switch is receiving power. Proceed to Step 6 if it does not.

STEP 6: Examine The Electrical Harness For A Break
There is a break in the wiring harness between the switch and the battery if the test light does not illuminate or the meter reads zero. Follow the wiring harness until you find the break, checking the hot wire for power at each junction. Make the necessary repairs.
STEP 7: Examine The Wire Between The Switch And The Fan For A Break
If you have tested the switch and motor and the meter shows voltage, or the light illuminates. Follow the wiring harness between these two sites as closely as possible, checking for burned-out patches or wire breaks. Repair or replace the wiring harness once the break has been found.
Conclusion
By following the above troubleshooting guide, you are most likely to determine the cause of the Mercedes Sprinter van blower failure.
Blower Motor replacement isn't difficult because it's usually straightforward to access. The mechanic will most likely remove the passenger side glove box and side panels from the passenger side footwell.
Bolts are removed from the motor, electric power wires are unplugged, and a new motor is inserted. Even though replacing a Blower Motor is a reasonably straightforward procedure, the parts can be quite costly.
Mercedes Sprinter Problems-